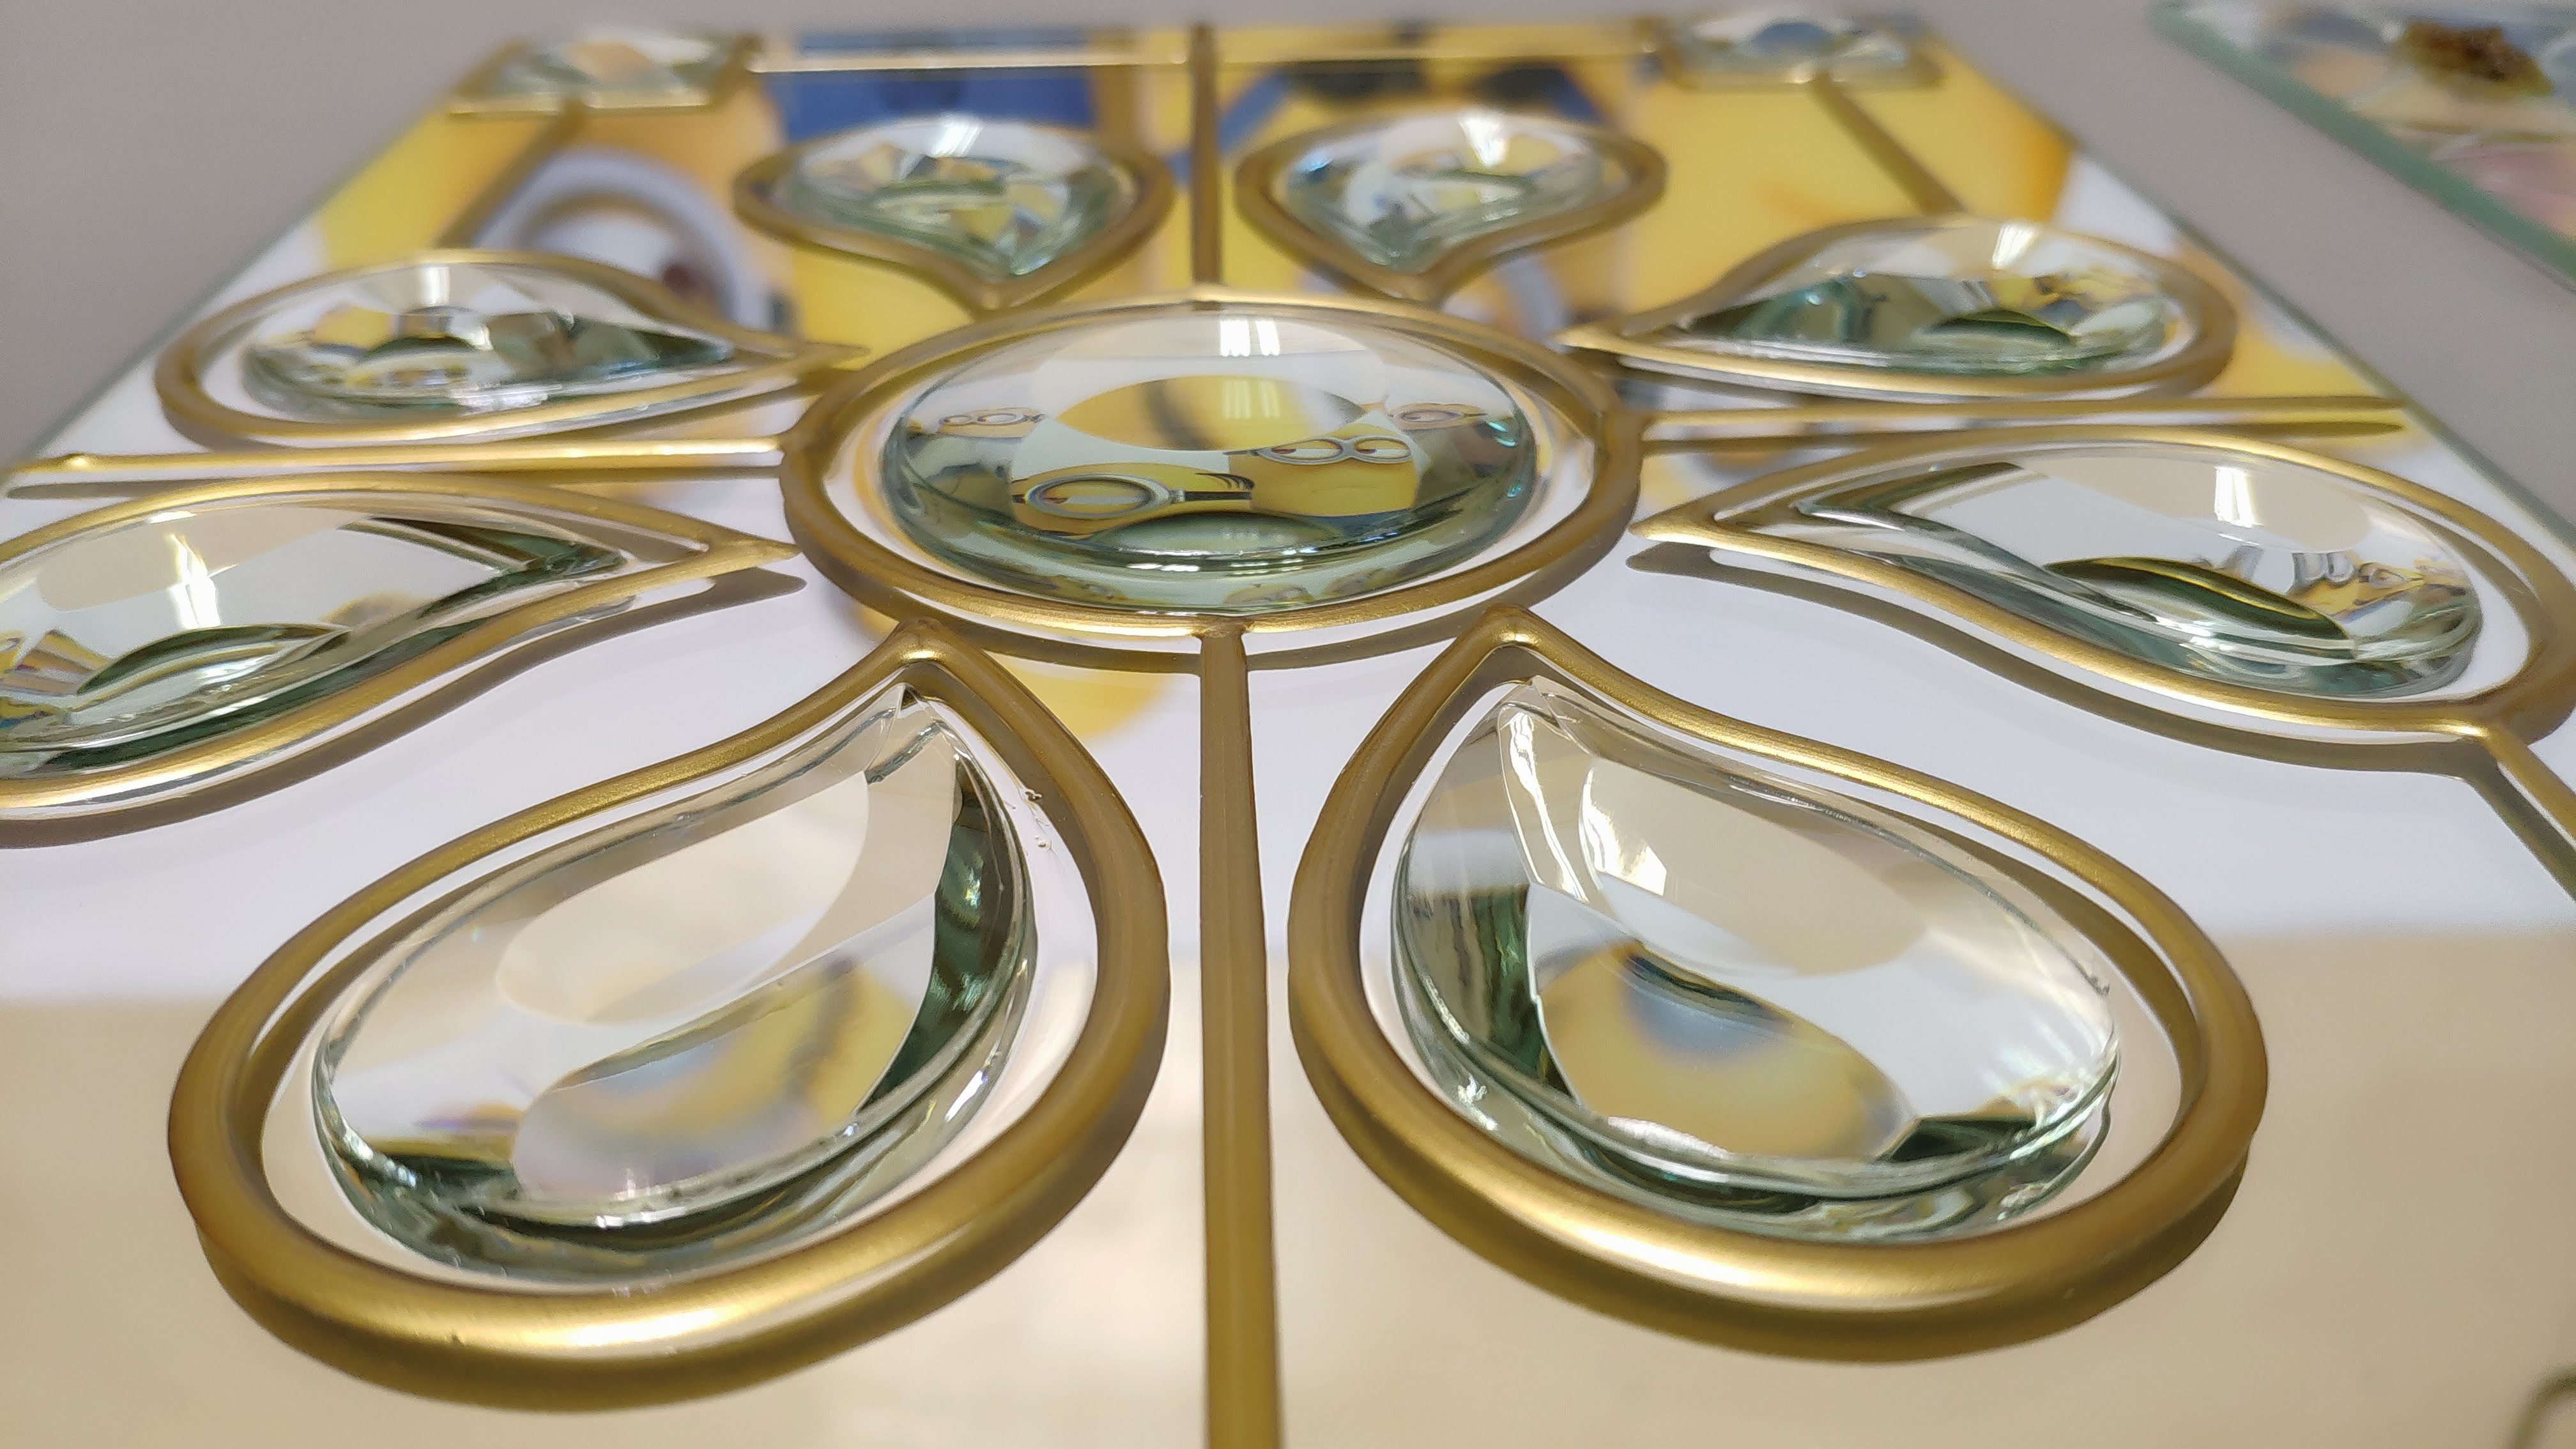
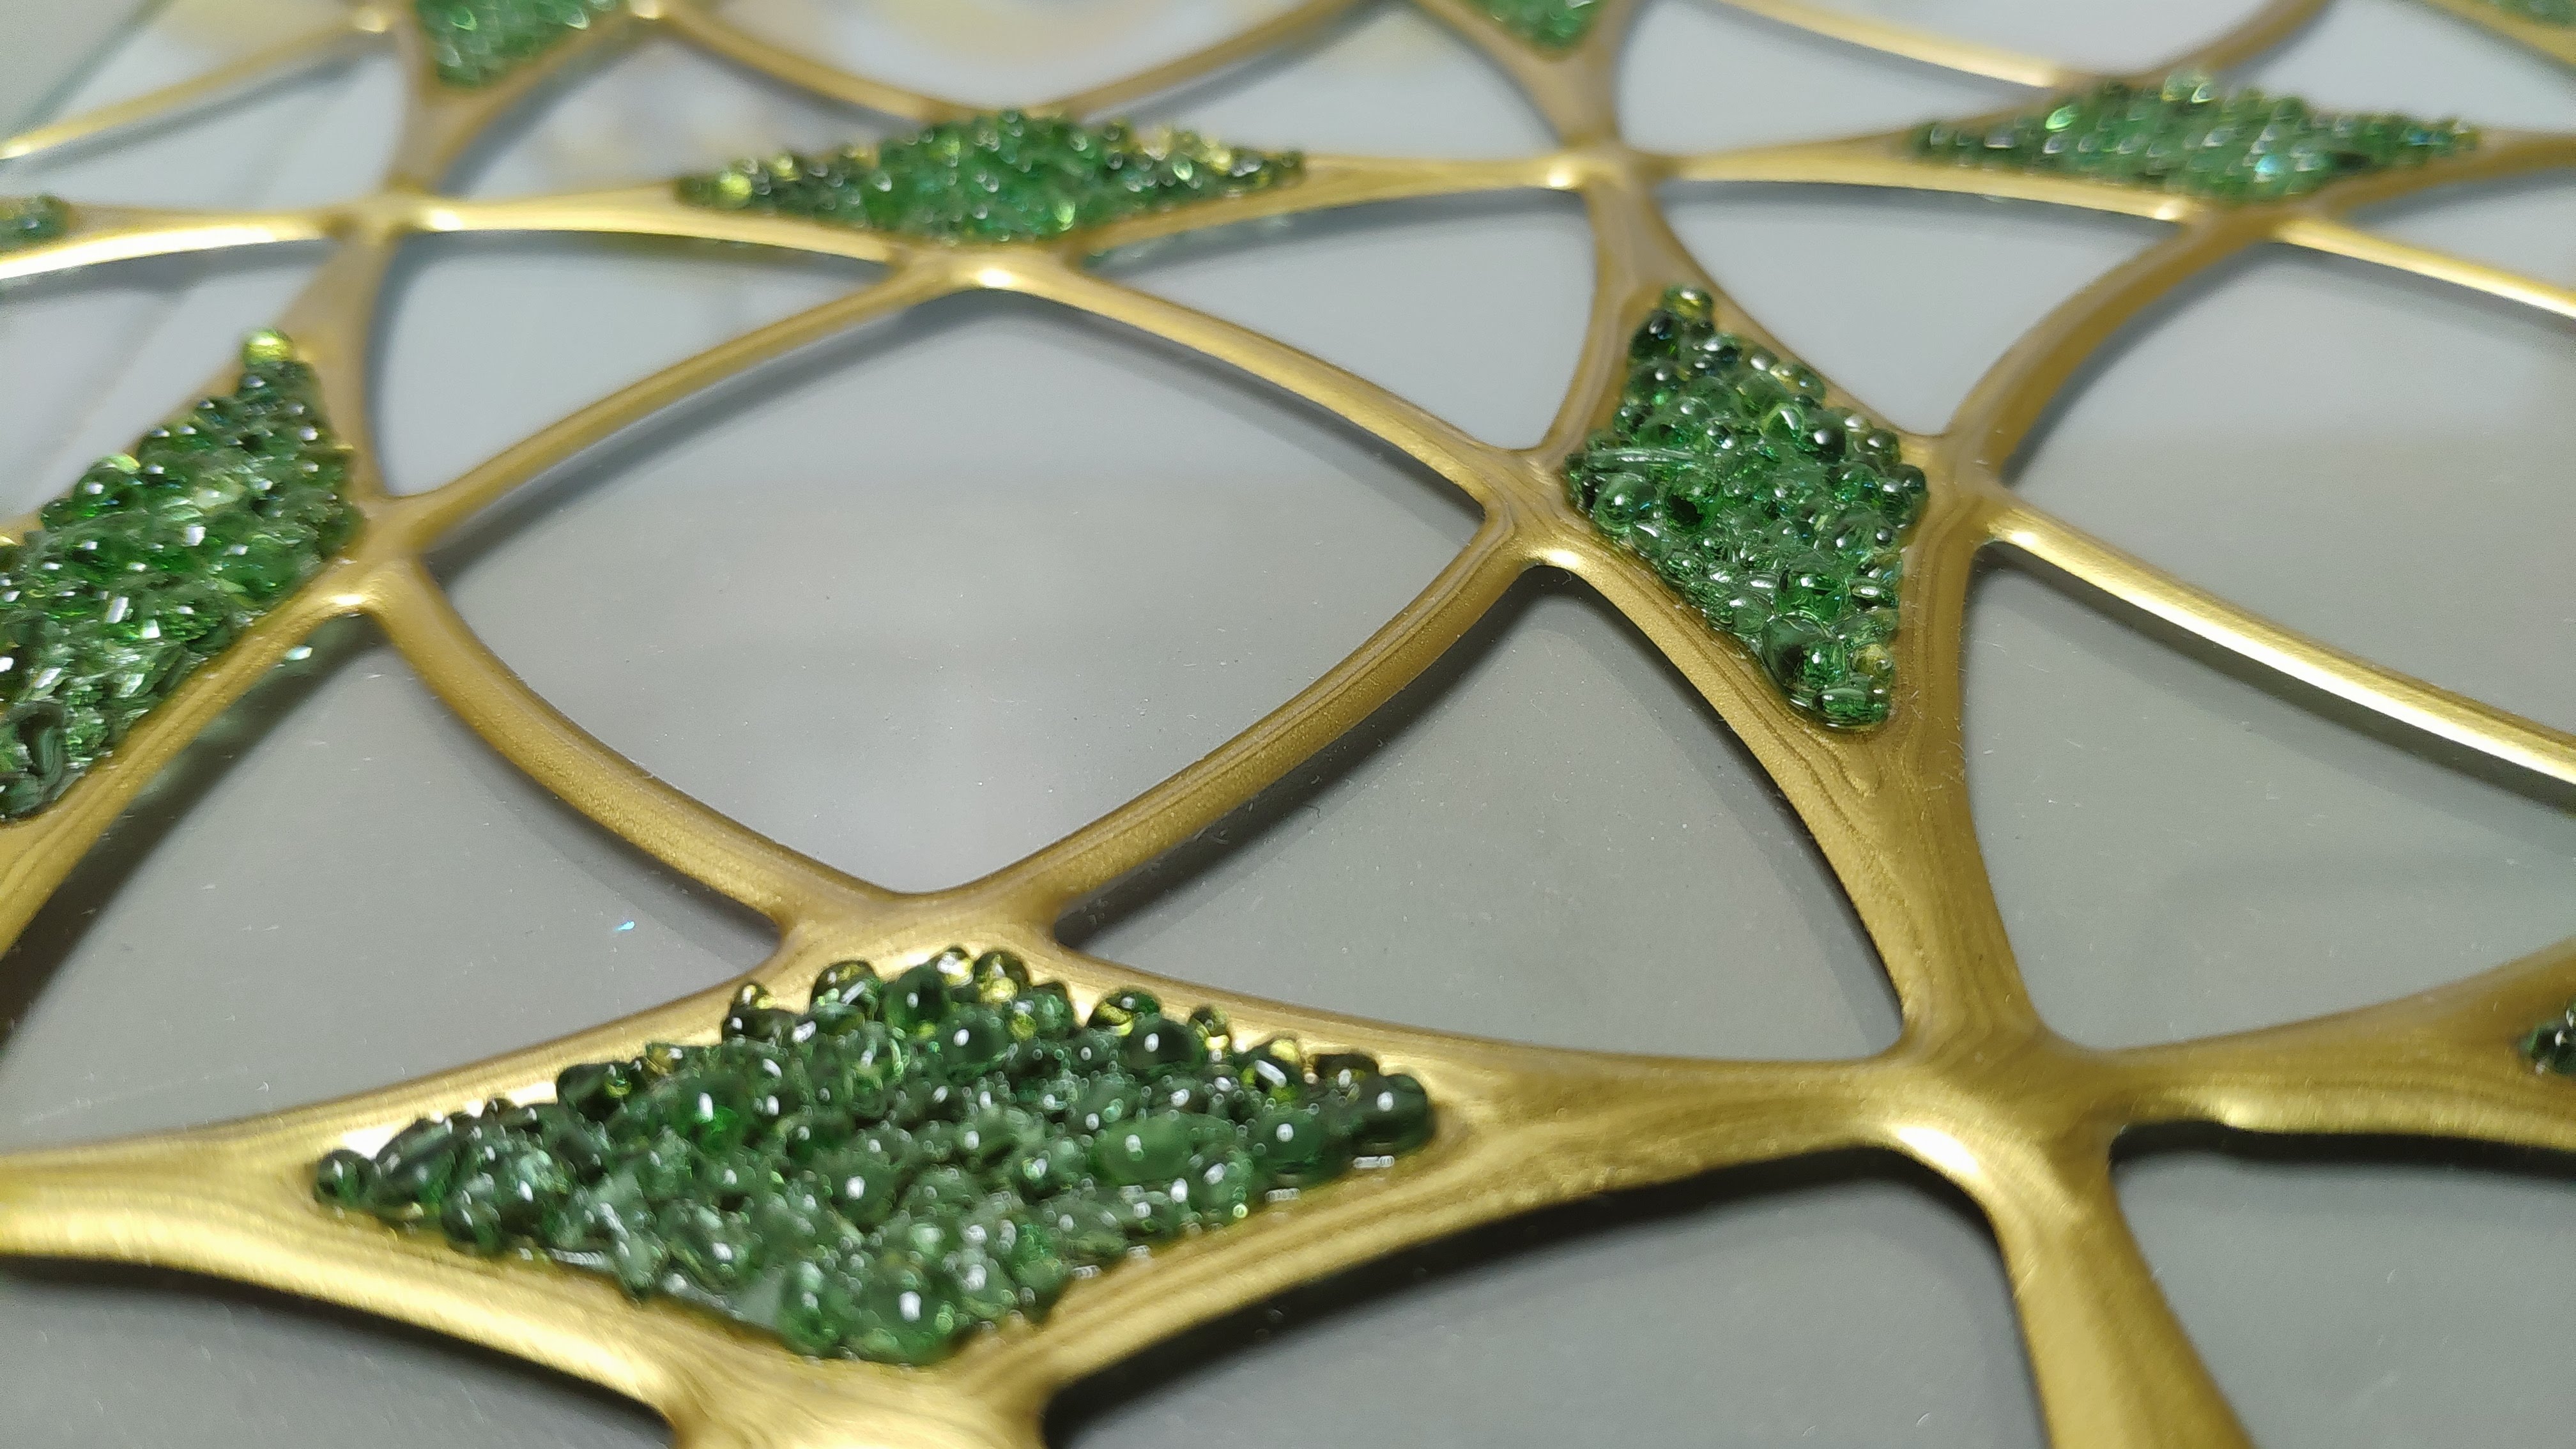
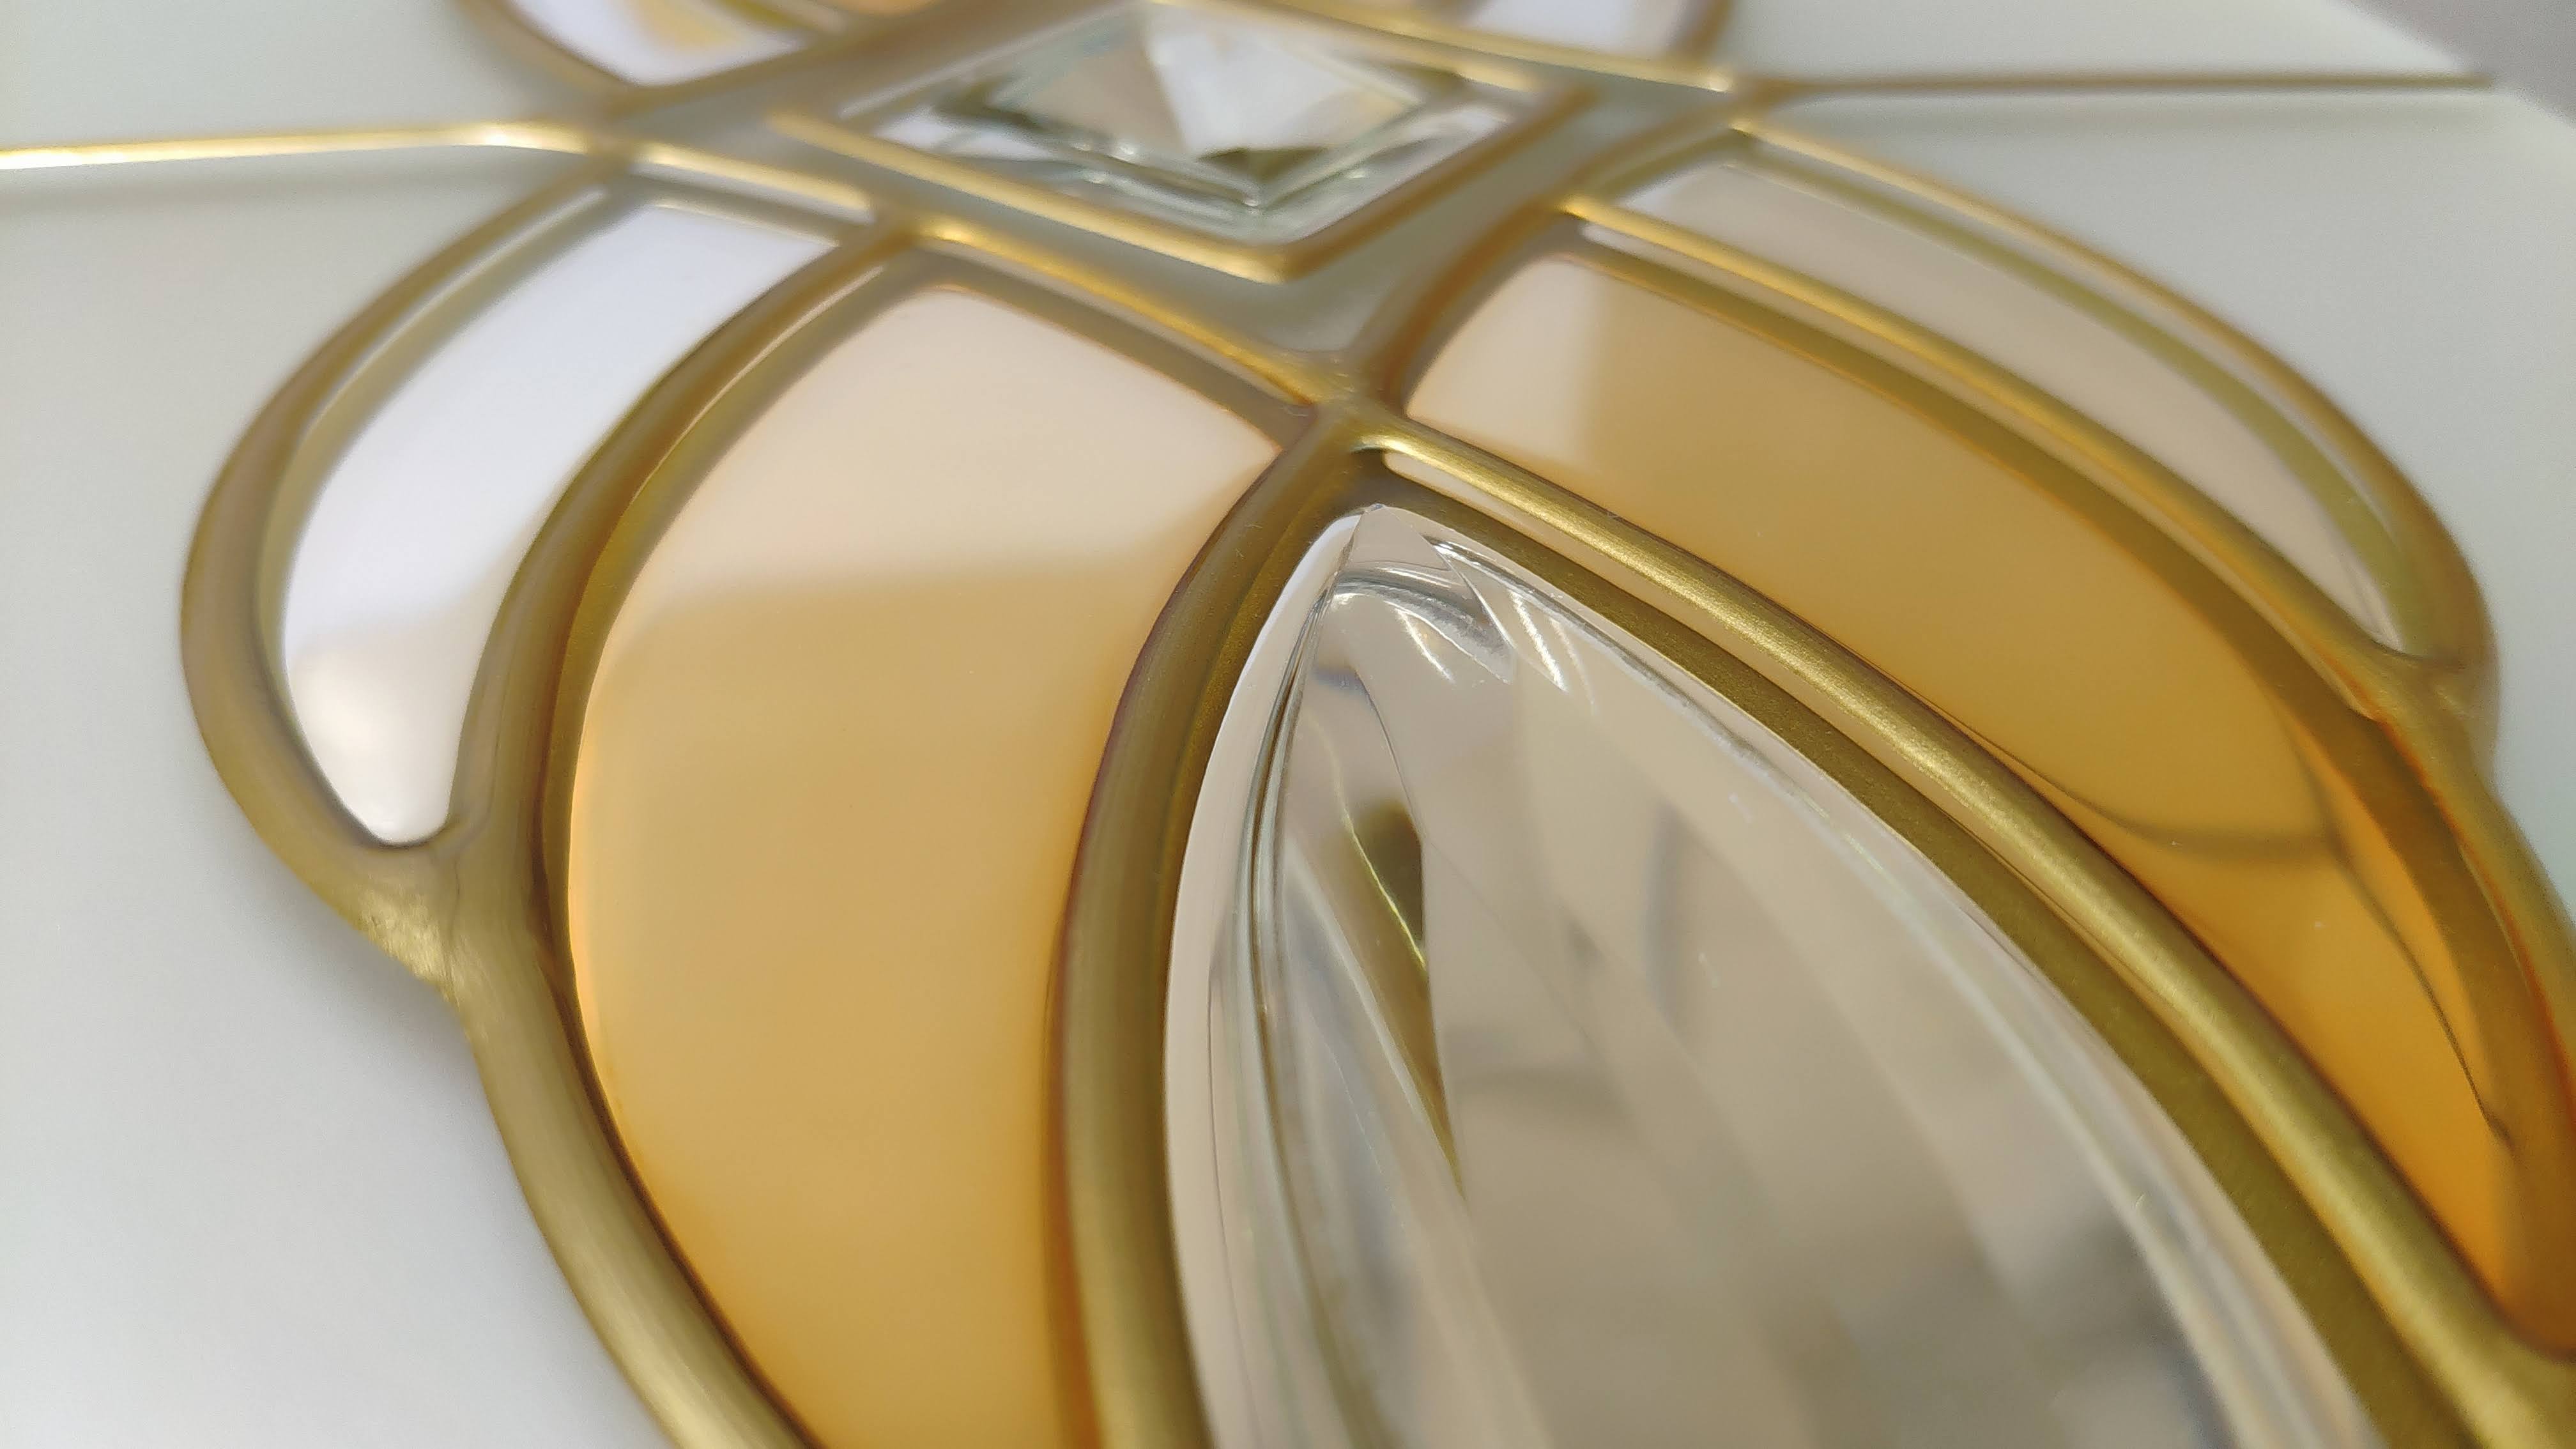
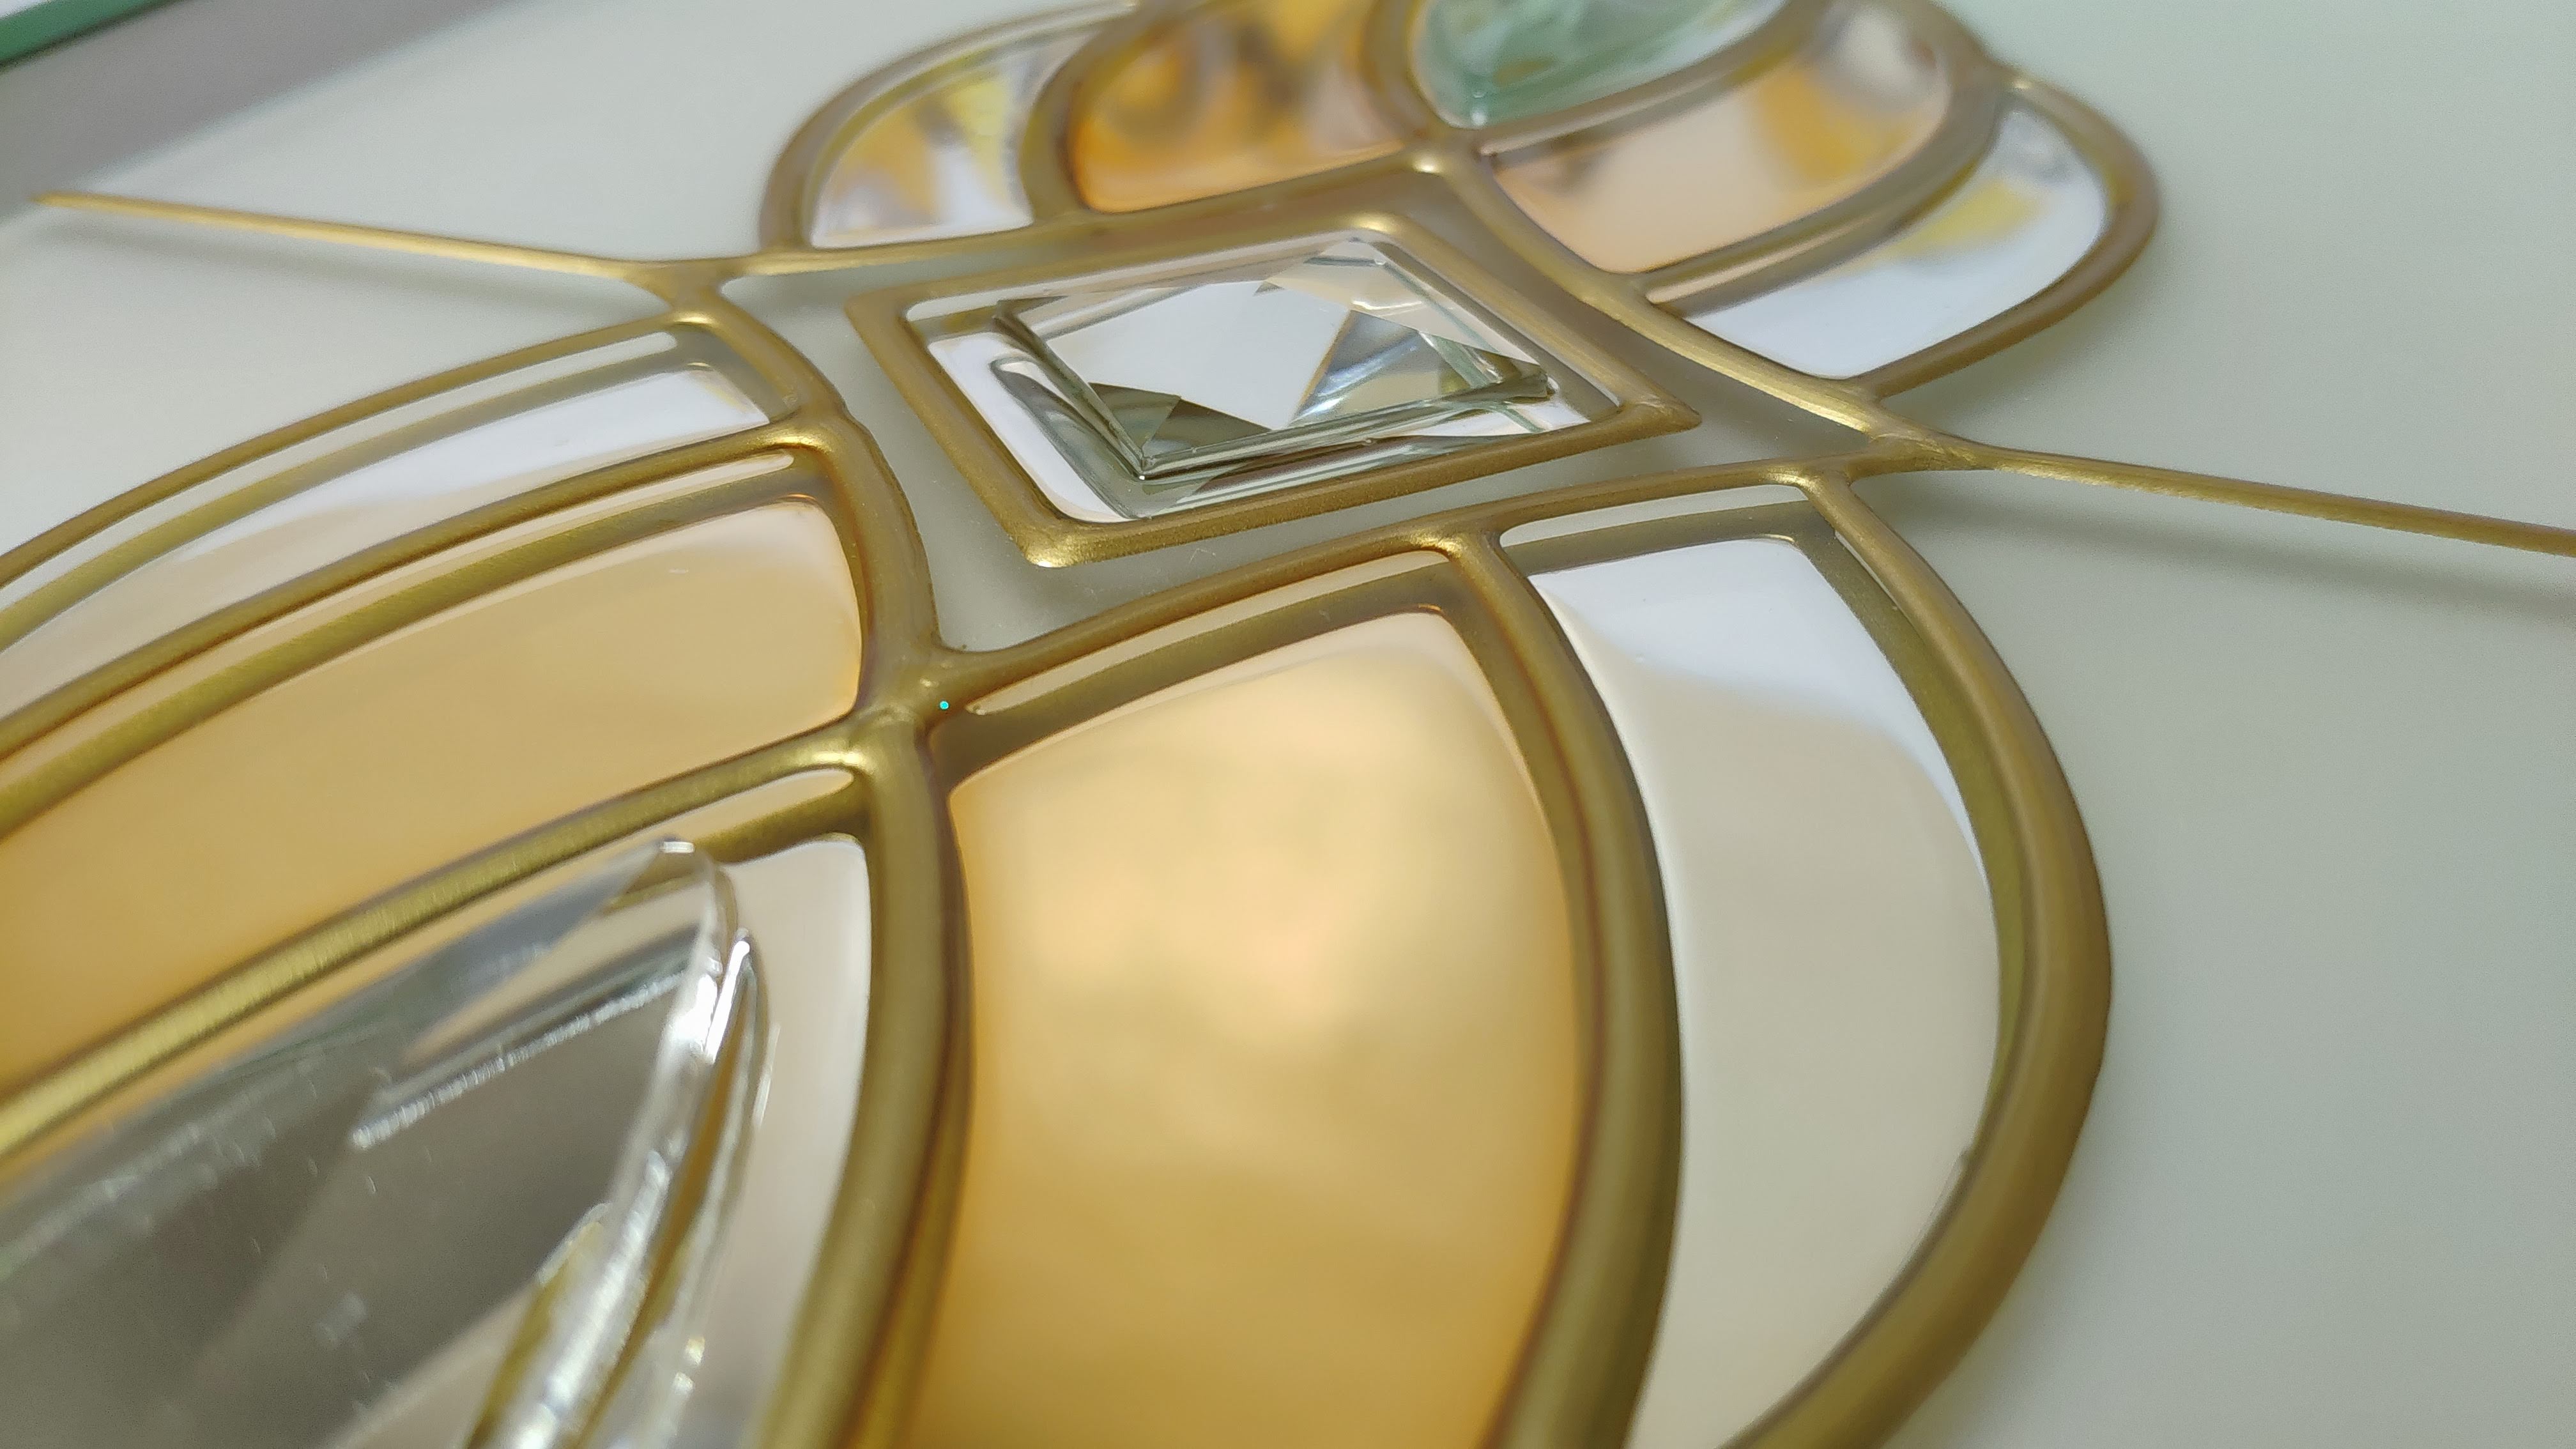
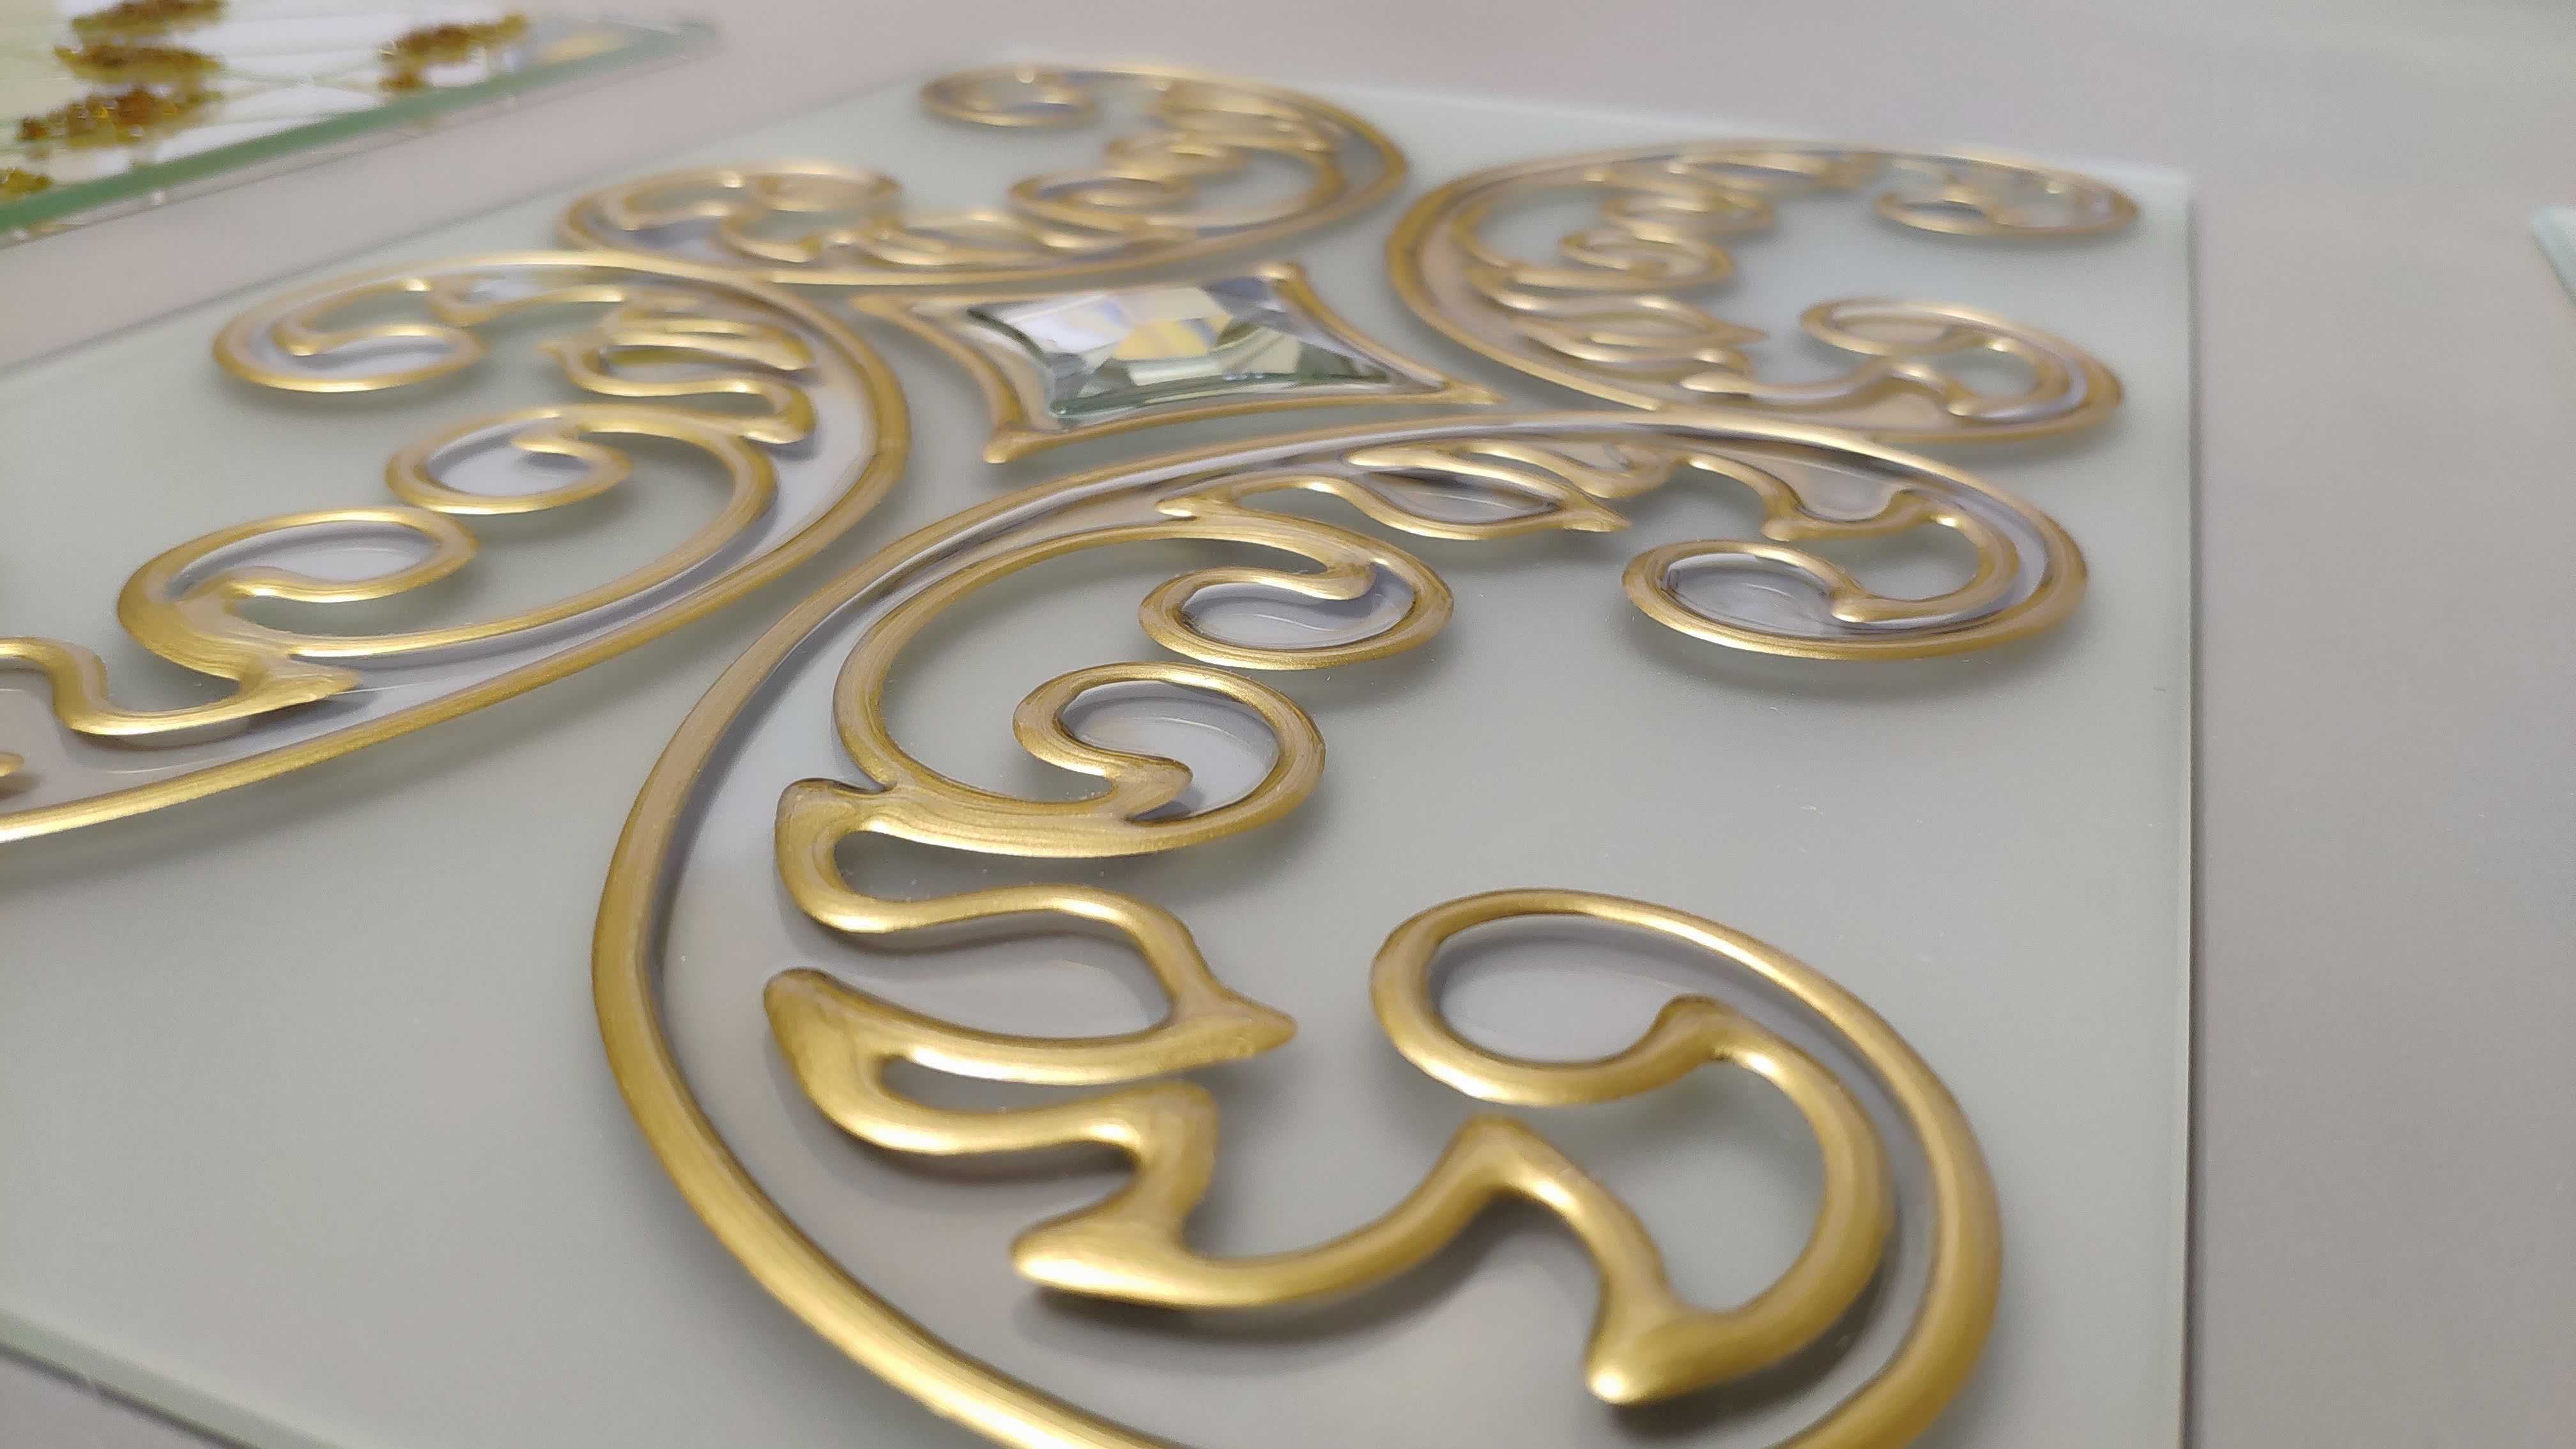
STAINED GLASS MACHINE "DESIGNER"
SERIAL MANUFACTURE OF STAINED GLASS
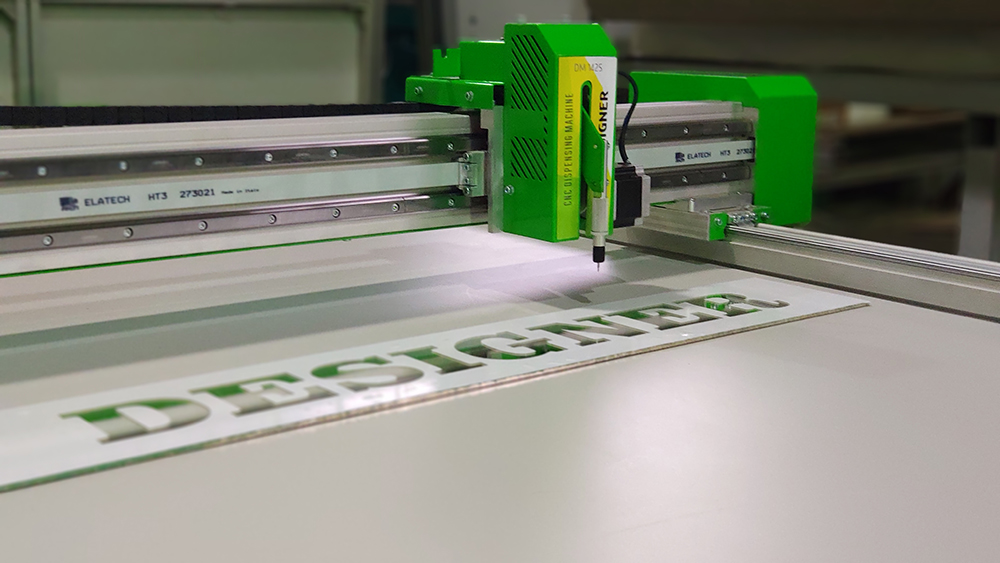
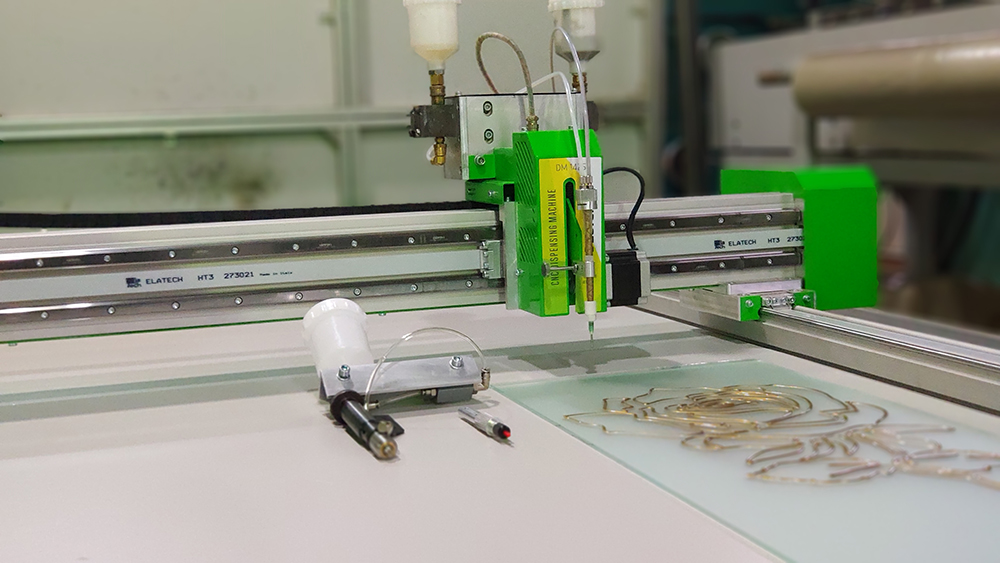
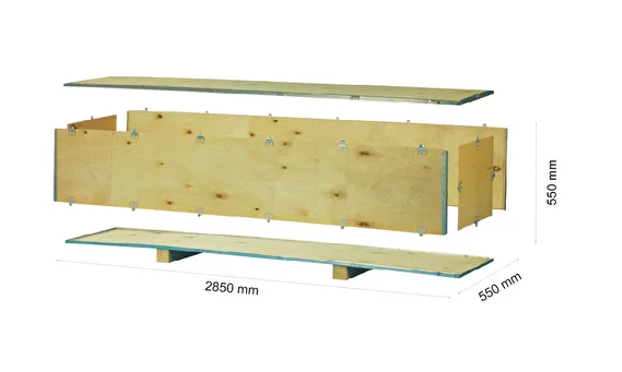
The distinguishing feature of the DESIGNER machine is its collapsible structure, which allows it to be packed into a box with dimensions of 550x550x2850 mm.
Thanks to its compact size, you can save a significant amount of money on shipping, both within Russia and to CIS countries.
The lightweight nature of the machine allows for easy installation, even on the 50th floor.
Working area 1400х2500 mm.

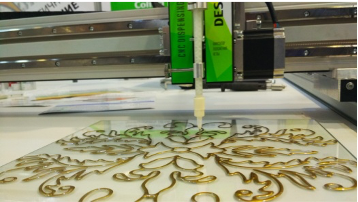
STAINED GLASS MACHINE
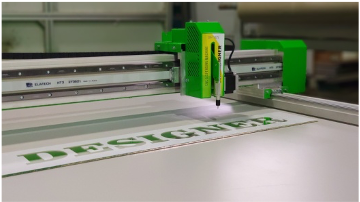
FILM CUTTING PLOTTER
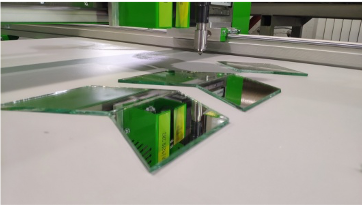
GLASS CUTTING MACHINE
SPLIT BODY DESIGN DESIGNER
The benefit of cost efficient shipment
Installation within any premises
Simple assembly of the machine
VIDEO OF THE DESIGNER PROCESSING
MAINTENANCE AND SERVICE
We are sure in our equipments ’quality.
It is the exceptional quality that allows to offer favourable warranty conditions and excellent technical support
MACHINE TECHNICAL CHARACTERISTICS
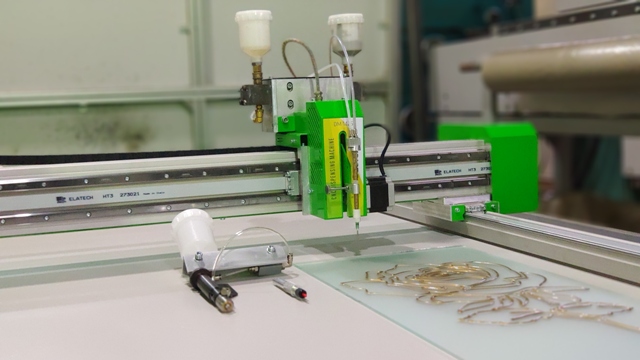
| Technical specifications | DESIGNER DM-1425 |
|---|---|
| Operating area | 1400х2500 mm |
| Operating speed | Up to 3 m/min |
| Rotational speed m/min until | Up to 8 m/min |
| Positional accuracy | 0,2 mm |
| Follow-up accuracy | 0,2 mm |
| Changing passage of speed of printer head online | available |
| Changing width of contour online | available |
| Glass cutting head | available |
| Film cutting head | available |
| Сutting accuracy | 0,3 mm |
| Contouring a flex surface | available |
| X axis drive | Belt |
| Y axis drive | Belt |
| Z axis drive | Belt |
| Power supply, volt | 220 volt |
| Wattage, watts | 600 watts |
| Surface overall machine dimension | 1850х2800х1100 mm |
| Packing dimensions of machines | 550х550х2800 mm |
| Net weight | 120 kg |
| Total weight | 200 kg |
HOW IS STAINED GLASS CREATED?
First, you need to develop a sketch in any vector editor. Use any vector editor that immediately reads the area of the image and calculates the consumption of materials.
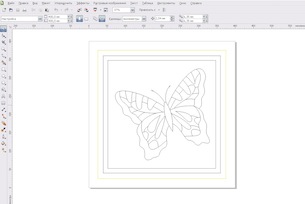
The preferred and edited image must be loaded into the editor, and then using the tools to outline the sketch.
The scale of the picture can be changed, cut, and also colored to see how it will look in the finished version.
The final drawing should to be saved in the format of the HPGL machine.
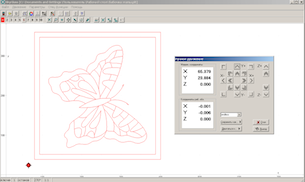
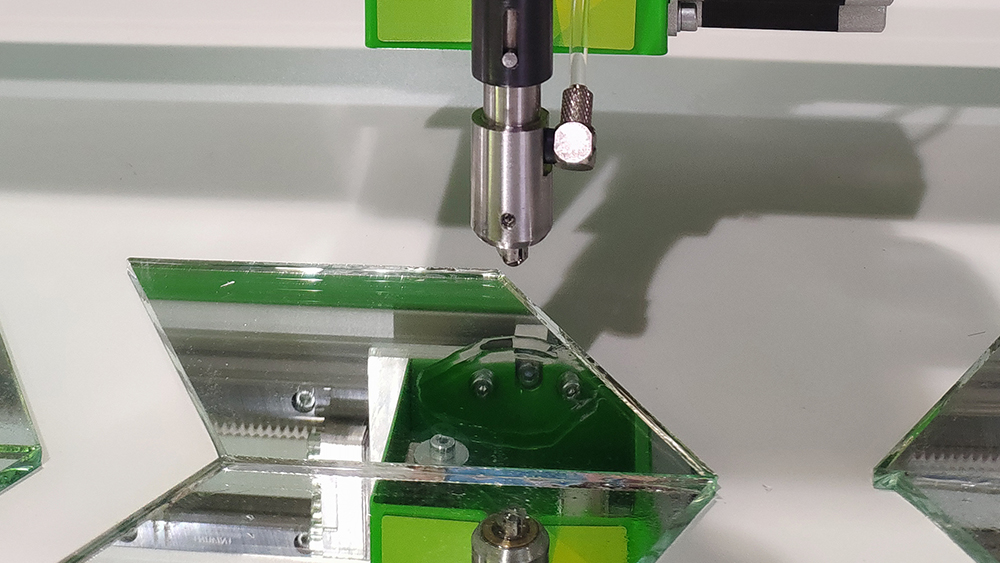
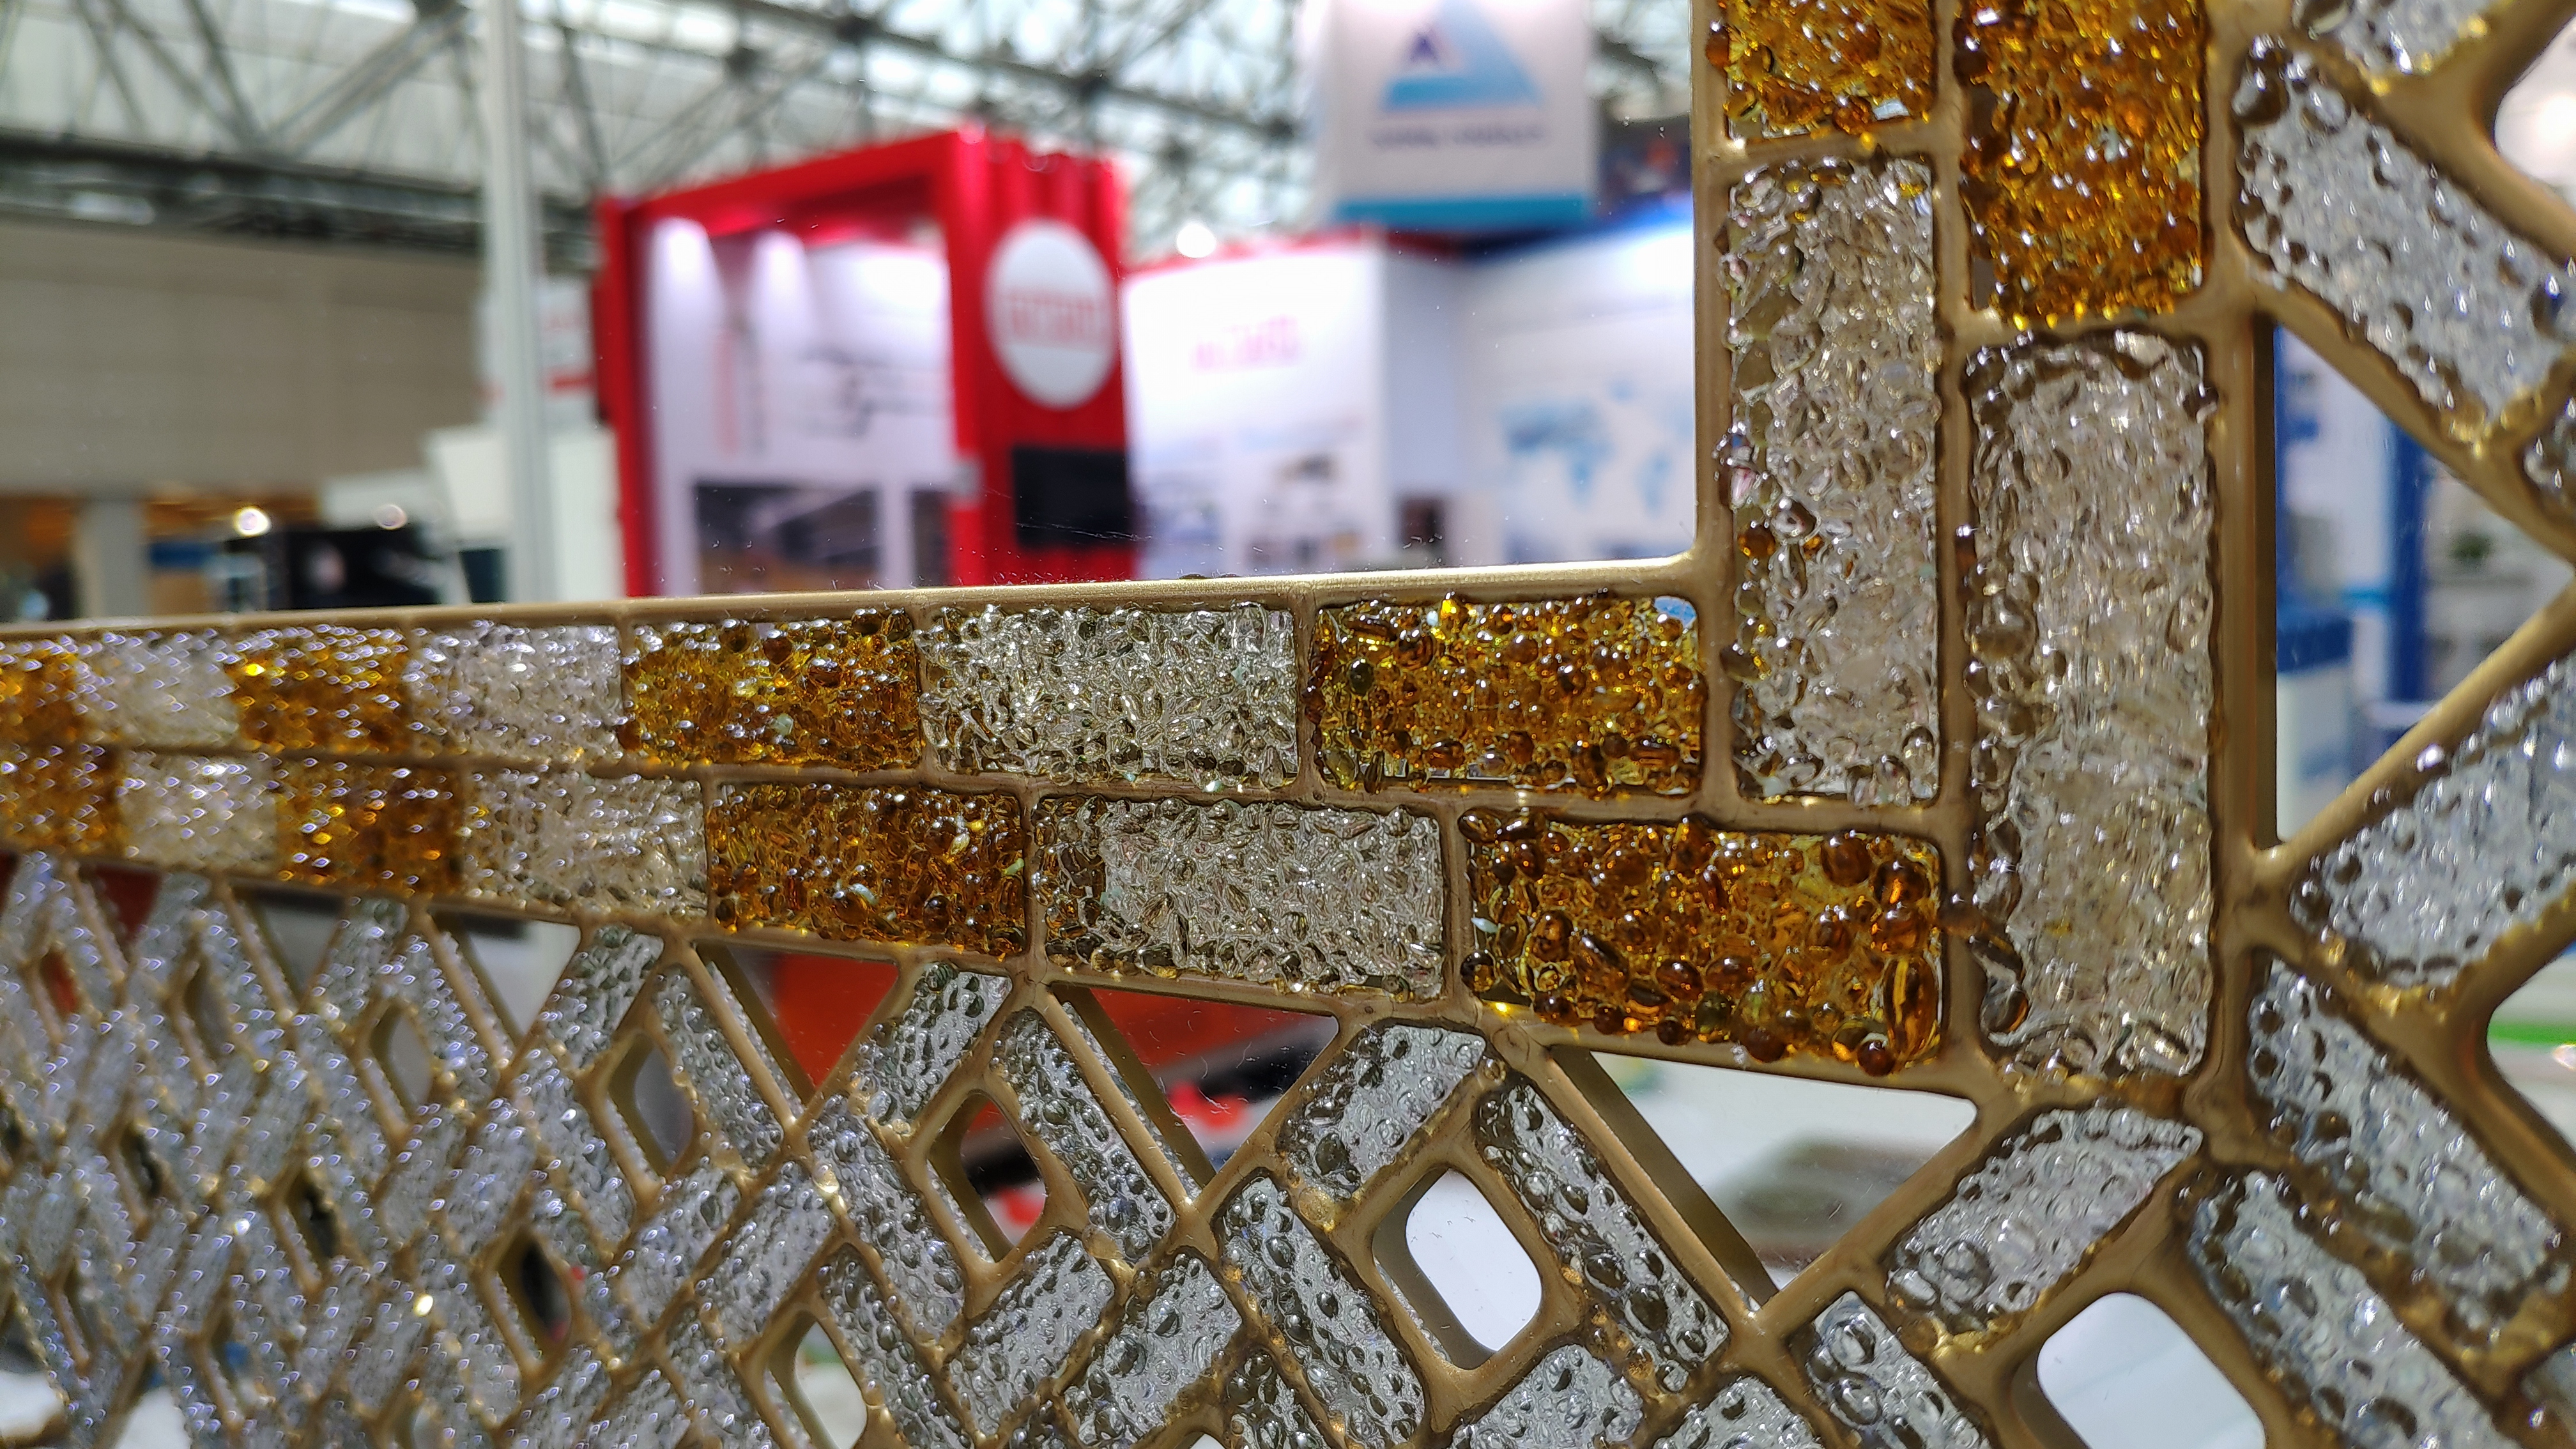
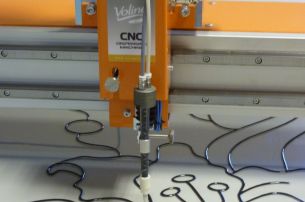
Apply a polymer contour with a CNC machine. Vary its height and width as needed. This can be done both during setup and during work. It is also possible to apply and sufficiently small details of the picture. Allow the contour to dry before the next step. The image becomes finally stabile within a few days, but 24 hours will be enough to continue the work.
The further work will require a flat, horizontal surface. Polymers are very fluid and it is important to prevent slipping to one side. The table, on request, can be made by yourself. Better perception of the ready-made product and colours can be achieved if the surface is equipped with the booster-light.
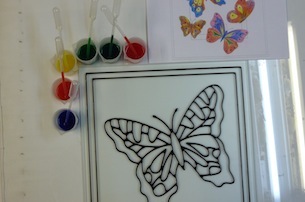
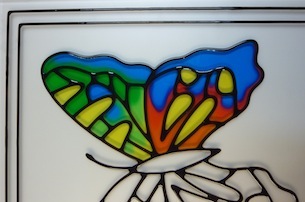
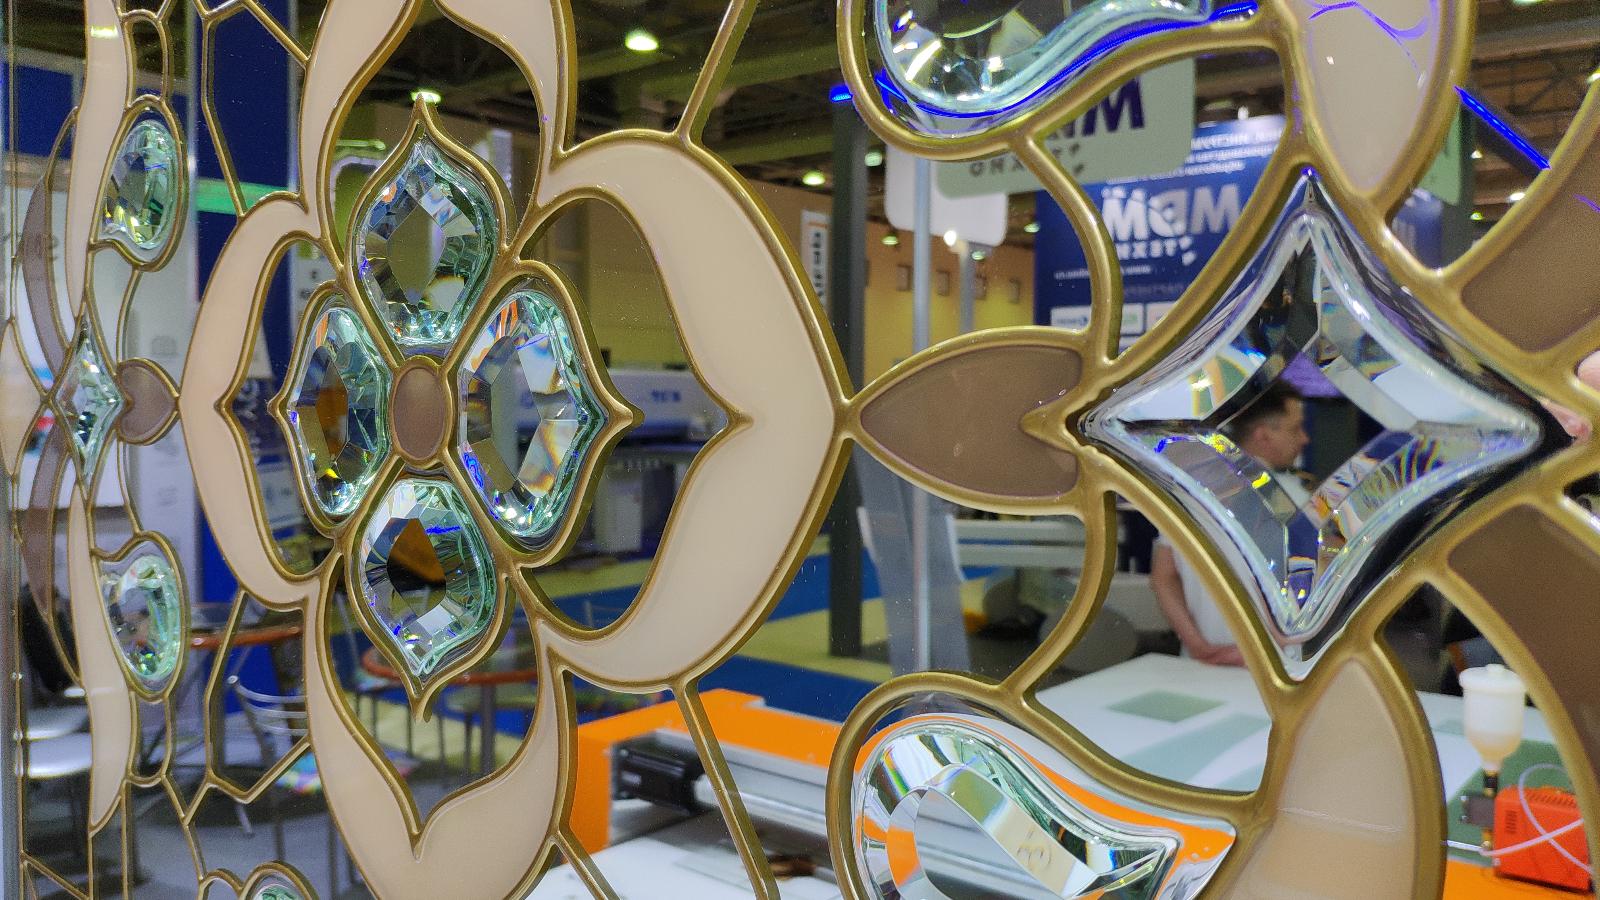
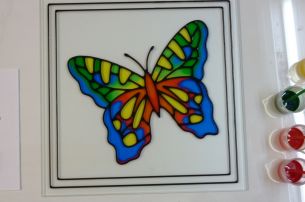
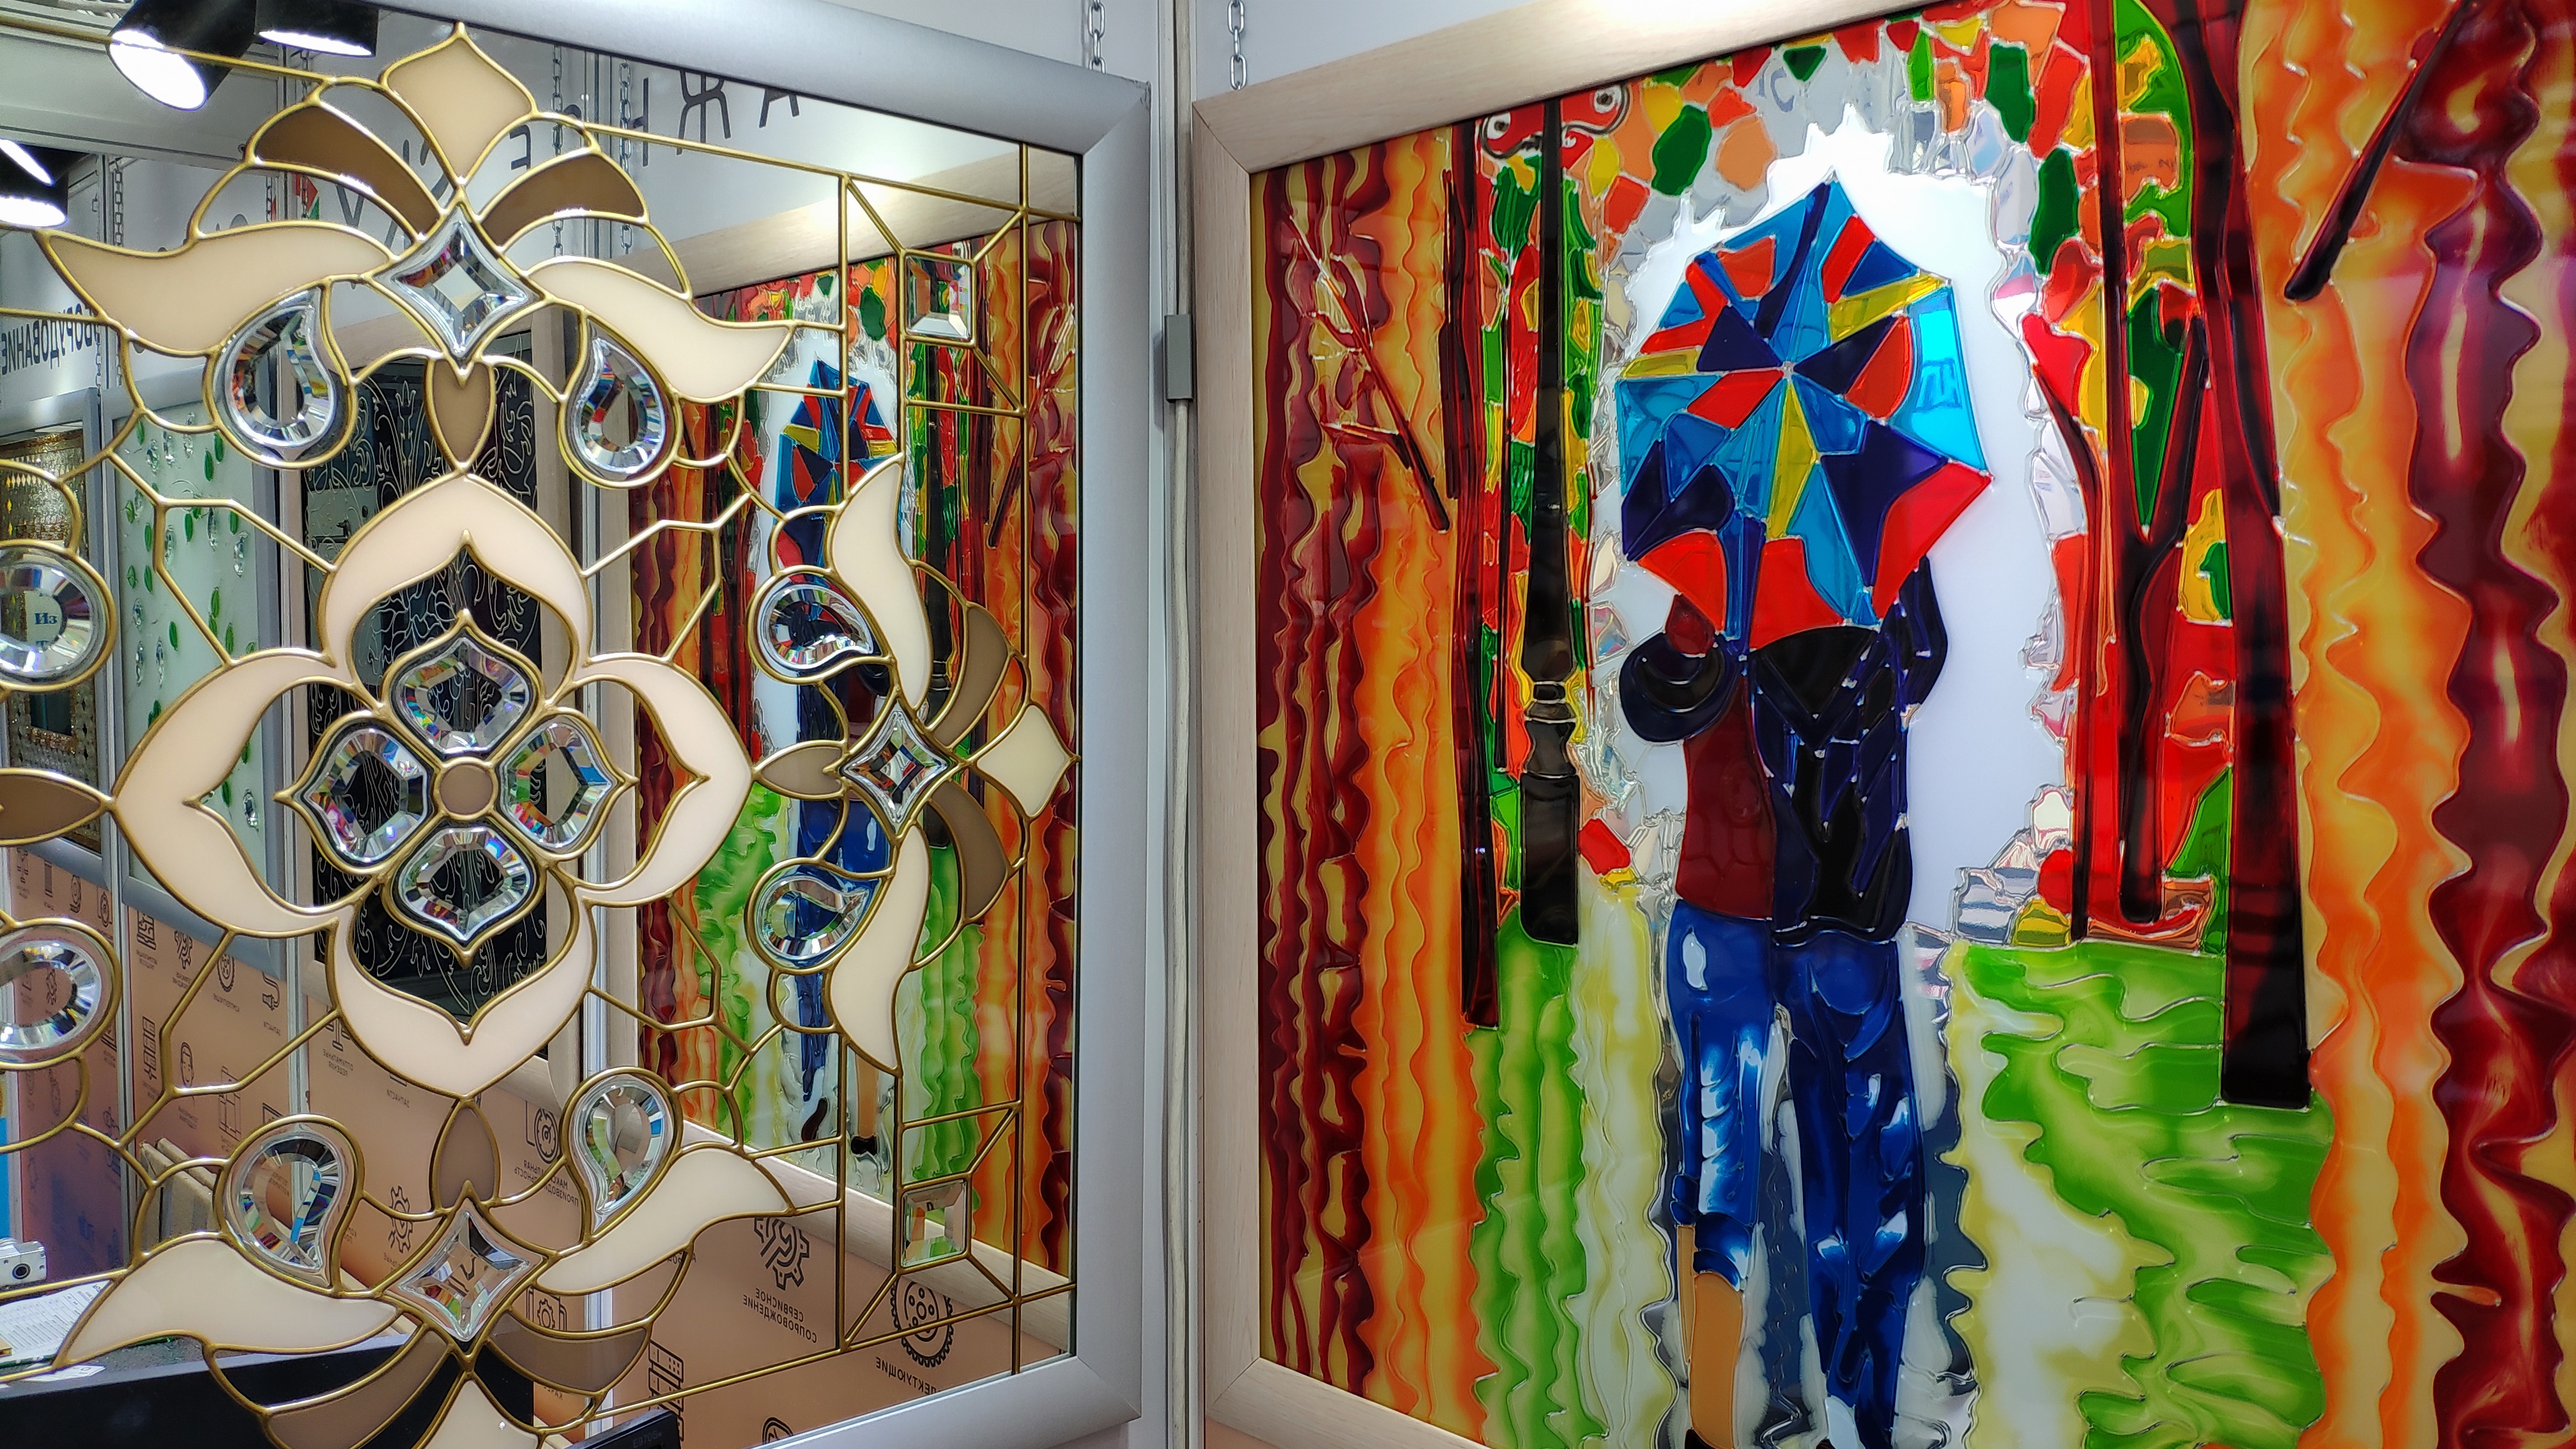
At the fifth stage, we fill in the dried out intercontour space. Use a two-component transparent base. Using special formulas, add small amounts of pigments to obtain the desired shades. This allows to change the colours and their saturation. In the same way, achieve the effect of a smooth transition from one color to another. The surface tension of the fill dries like a lens, creating a lifelike stained glass effect
